Saturday, 20 September 2014

Chocolate Chip Cookies


Ever since the newest addition to my ever growing cookbook collection popped, well squeezed, through my letter box earlier this week, I have been desperately wanting to try something out of it.

I thought I would make sort of a series to show you some of the recipes out of Mary Berry’s Baking Bible.  This book is great for anyone who wants everyday recipes on everything to do with baking. It can be found here.


Today I am going to attempt to make chocolate chip cookies. I have made these once before and I really wanted to see if this recipe was any good.


Ingredients

100g/4oz  softened butter
75g/3oz caster sugar
50g/2oz light muscovado sugar
1/2 tsp vanilla extract
1 large beaten egg
150g/5 oz self-raising flour
100g/4 oz chocolate chips

(Please note I used 125g caster sugar as I didn't have any light muscovado sugar.)


Step 1

Preheat your oven to 190 Degrees Celsius/ 170 Fan Oven/ Gas Mark 5. Lightly grease 3 baking trays.

Step 2

mix the butter and the sugars together in a bowl until it looks something like this.


Step 3

Add the vanilla extract into the beaten egg. Then add a little at a time to buttery mixture, beating with every addition. 


Step 4

After that mix in the flour and the chocolate chips.


Step 5

Spoon large teaspoons of the mixture onto the baking trays, the recipe says it makes 20 cookies, but I only ended up with 16 (make sure to leave space for the cookies to spread, otherwise you will end up one big tasty mess!).


Step 6

Bake for 8-10 minutes or until the cookies are golden brown. (Make sure you watch them as they change very quickly).


Step 7

Leave cookies to cool down. Then transfer onto a wire rack to cool and enjoy!


Please leave me any tips and suggestions in the comments below!

Thanks for stopping by! :)


Wednesday, 17 September 2014

Shortbread Biscuits


Hi Guys!

These biscuits are a personal favourite of mine. It's really simple. Today it took me just over an hour and that includes baking time.

 They remind me of my childhood as I used to make them with my mum.

The most memorable time that I can remember making them was father day when I was 7 (gosh 2004!). I remember being really proud as I had managed to bake them almost on my own (with a bit of help with the oven from mum.) So they are great for baking with kids.

This recipe comes from an old woman’s weekly cookbook that my mum from her grandma when she was 16. It can be found here.


Ingredients
8 oz Butter
10 oz Plain flour
3 oz Caster sugar (be sure to use caster sugar as it makes for a more even bake)


The recipe says they make about 24, but I got 18.


Step 1

Preheat your oven to 190 Degrees Celsius/375 Degrees Fahrenheit/Gas Mark 5. (I did it in my fan oven at 170 Degrees Celsius).

Step 2

Sift the flour and sugar together until it look something like this.


Step 3

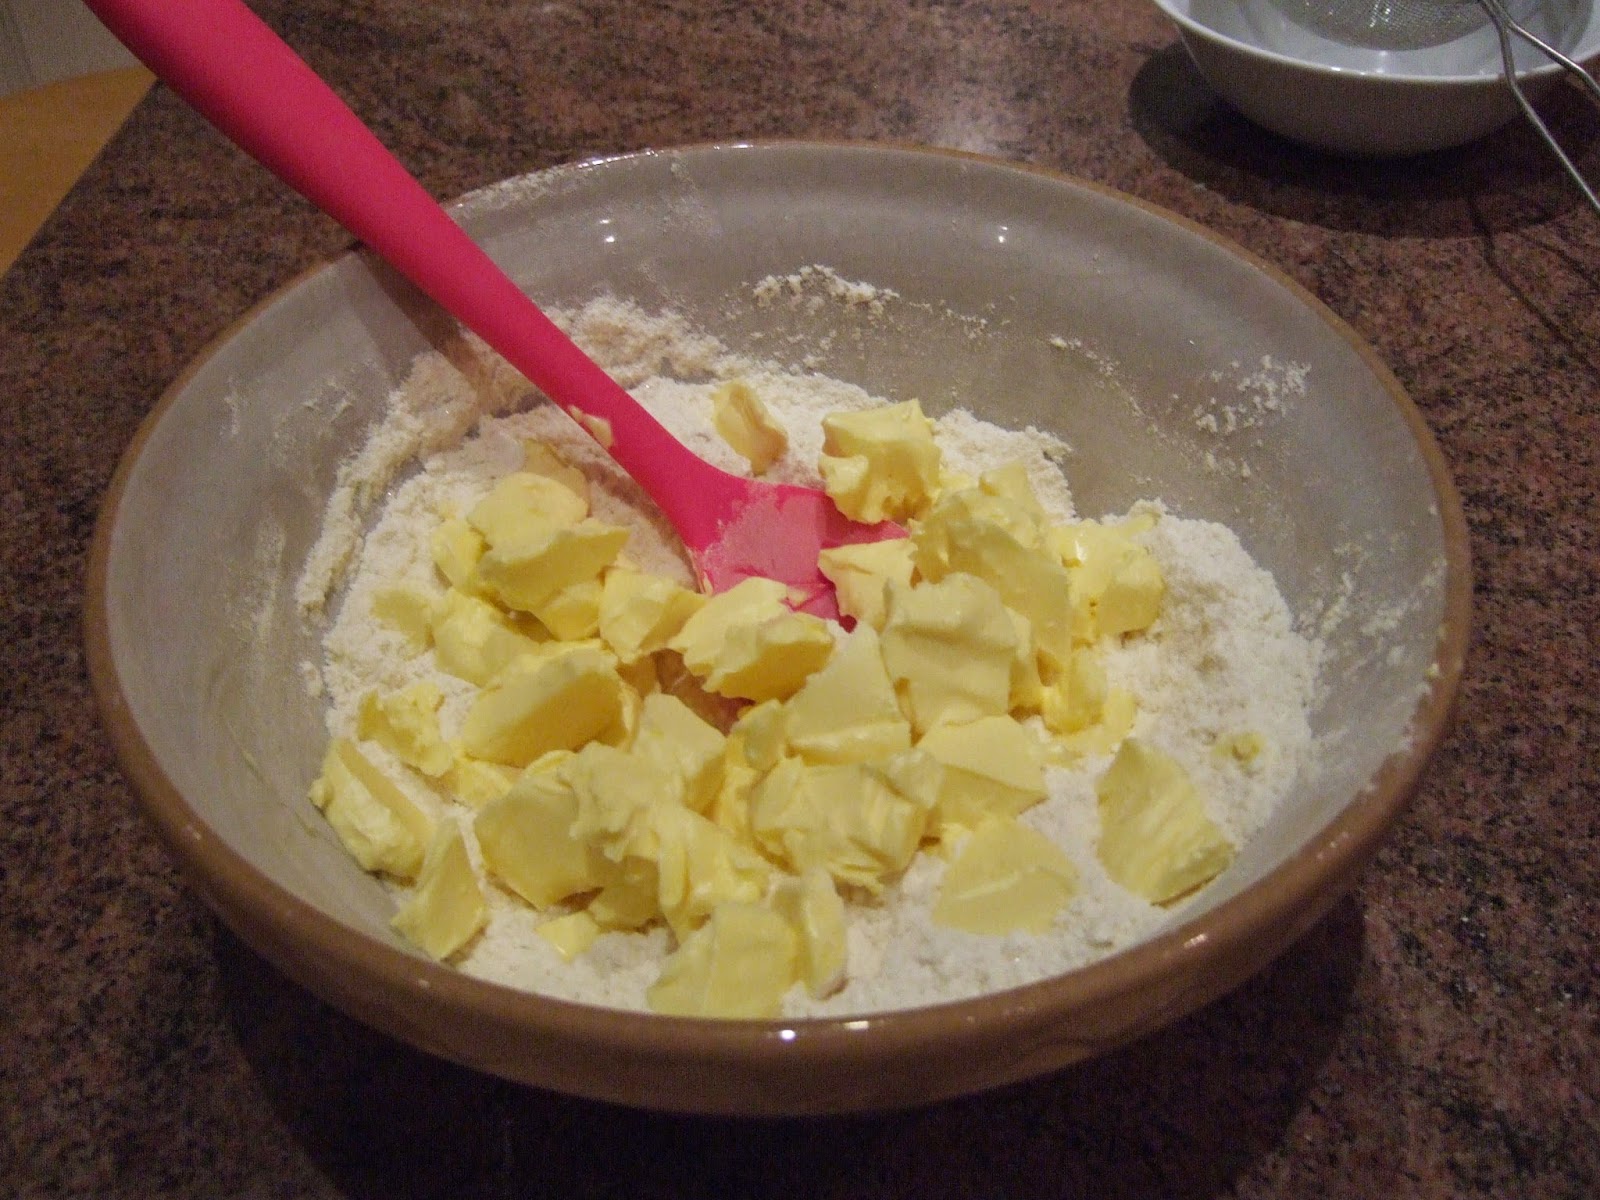
Add the butter cut into cubes and rub into the the flour until it is even and knead until all the ingredients are together.


Step 4

Cover with some cling film (or as i did cover it with a bowl) and place in the fridge for around 10 minutes. Then roll out the dough (the recipe says to a 1/4 inch thickness) on a lightly floured surface and use a cutter to cut out the biscuits. 

If you are finding they hard to pick up then split the mixture in half and increase the thickness of each biscuit making it easier to transfer.


Step 5

Transfer to baking trays and bake for 12-15 minutes or until golden brown. Then transfer onto a wire rack to cool.


You can flavour differently:

  • Chocolate-substitute 1 oz cocoa powder for 1 oz for flour
  • Cinnamon-sift 1 tsp ground cinnamon with the flour


Please leave me any tips or suggestions in the comments below!

Thank you for stopping by! :)


Friday, 12 September 2014

Basic Cupcakes

Welcome to my blog! 

Today's blog post is a baking one!

I am definitely not the most experienced baker in the world, but in recent years my passion for baking has developed and I really wanted to share some of the recipes I have found on the way. 

I always enjoyed baking with my mum when I was younger and when I got older I occasionally baked for my parents. However, when I was around 15 I was stuck on what to get my sister for her birthday. So I decided to bake her some cupcakes and I have to say they were a hit and I left her house with orders for both my niece and nephew’s birthdays! From then it has become sort of a tradition and I believe I would not be doing this today without their encouragement (and the mounds of baking stuff I got that Christmas!)

So I decided that this recipe would be a perfect place to start!

This recipe comes from a book called step to step, practical recipes:cupcakes and can be found here.


The reason why I like this recipe is because of its simplicity. I found that after a few times it sort of became second nature. So without further ado let’s begin! (before I start waffling any longer!)

Ingredients

For cake mixture
100g/3 1/2 oz soft margarine
100g/3 1/2 sugar (the recipe says brown sugar but I am using caster)
100g/3 1/2 self-raising flour
2 medium eggs, beaten
Finely grated zest of 1/2 lemon and 1 tsp juice (however i don't use this as I don't lemons)


For icing
50g/2 oz unsalted butter, softened
1 tsp vanilla extract 
125g/4 oz icing sugar, sifted
1 tbsp milk (i used semi skimmed)
food colouring/paste
sprinkles 


For the cakes

Step 1

To start with you will need to preheat your oven to 190 degrees Celsius/ 375 degrees Fahrenheit/ gas mark 5. I set my oven to 170 degrees Celsius as it's a fan oven. Also at this point place your paper cases in your cupcake tin.


Step 2 

Put the butter, sugar and if you are using it lemon zest into a large bowl. Mix until it look pale and fluffy, which should be something like this.


Step 3

Beat your eggs in a little at a time and add small amounts of flour with each addition. Fold the rest of the flour and lemon juice and mix until it is a nice smooth consistency.


Step 4

Scoop the mixture into your bun cases and bake for around 12 minutes until they are a nice golden colour. Transfer to a wire rack to cool.


For the icing

Step 1

Beat the butter and vanilla extract together until light and fluffy.

Step 2

Gradually beat the icing sugar and milk together until it is all mixed well. You may find that you need to put it into the fridge to set if it doesn't feel like it will stay put on the cakes.

I didn't add any food colouring but you can add it in after mixing all the ingredients together. 

Step 3

Spread the icing over the cold cupcakes with a small flat bladed knife and decorate with sprinkles.


And here is the finished product! I hope you enjoyed my first ever blog post!


Please leave me any tips or suggestions in the comments below.

Thanks for stopping by!